


Cannular Canner Pro Bench Top Alumminum & Tin Can Seamer - Semi Automatic Can & Alumimum Tin Can Seamer
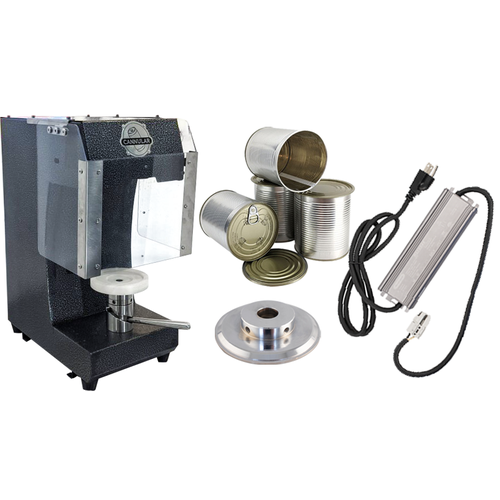
Everything you need to start seaming Tin Cans for food applications with the Cannular Pro can seamer. This kit includes the Cannular Pro Semi-Auto Canning Machine, 110V Power Supply, Splash Guard Accessory, Tin Can Chuck Adapter, and a 98-ct. case of tin plated steel cans and lids.
Please note: the Cannular comes ready for sealing 12 oz and 16 oz aluminum cans as standard. The Tin Can Chuck Adapter must be installed before seaming tin plated steel cans.
Operation:
The beauty of the Cannular lies in how truly simple it is to operate, and the semi-automatic pro model makes canning beer even easier. With only three points of operation, it only takes a few minutes to familiarize yourself with the machine. The seaming process is as follows:
- Place lid atop the can and place the can on the table spacer
- Turn the platform lever clockwise to raise the can to the seamer
- Press the seaming operation button then wait for the can to stop spinning
- Turn the platform lever counterclockwise to lower the can
That's all there is to it!
Construction:
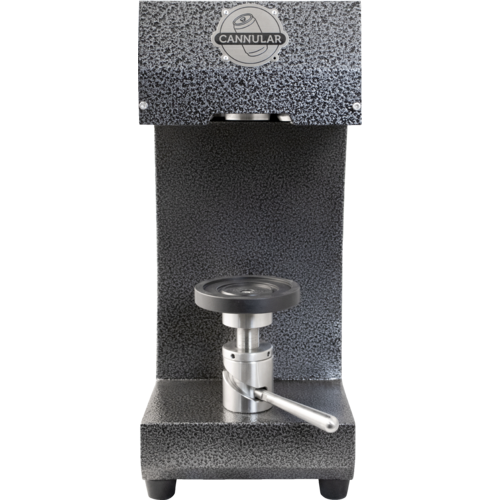
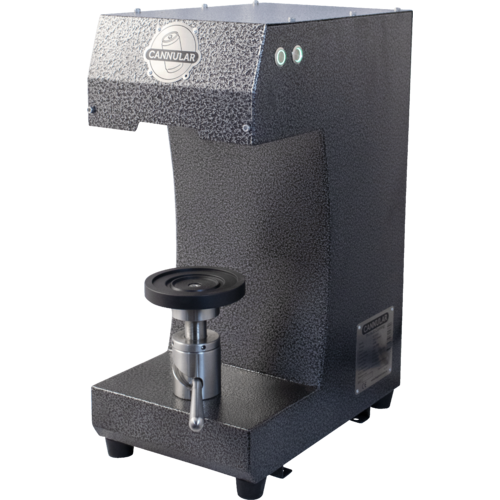
The Cannular was designed to be compact, durable, and safe to operate in a wet environment. The platform assembly is made from 304 grade stainless steel, so no matter how messy your canning gets, there's no need to worry about rusting or degradation. The body of the unit is made from hammered sheet metal and fastened together with stainless steel screws. Rubber feet help keep the unit from slipping and sliding while in use. In addition, the Cannular features built-in brackets near the feet so you have the option to mount the machine to your counter or benchtop. The Cannular runs off of 24V DC power via the Anderson socket located on the back. This lower voltage was chosen specifically to make the unit as safe to use in a wet environment as possible.
Kit Includes:
- Cannular Pro Can Seamer
- 110V Power Supply
- Splash Guard
- Tin Can Chuck Adapter
- (98) Tin Plated Steel Cans and Lids
- Power: 250W 24V DC
- Rated Speed: 3300 RPM
- Gearbox Ratio: 9.8 : 1
- Dimensions: 16" L x 9.5" W x 21" H
- Weight: 40 lbs